The toddler stage is full of wonder, curiosity, and excitement. Babies quickly pass through the milestones of rolling, crawling, and walking and quickly start to become more independent.
After a baby’s first birthday, they enter the adventurous world of toddlerhood. Toddler life can be a lot for parents and caregivers to keep up with!
Toddlers want to use their new-found skills to explore and discover. After entering toddlerhood, the toys that once kept their attention in the baby stage no longer do.
You may find yourself struggling to come up with ideas for how to hold your toddler’s attention. How can you keep your busy toddler actively involved in play? And how can this be done on a budget?
Benefits of Sensory Bins
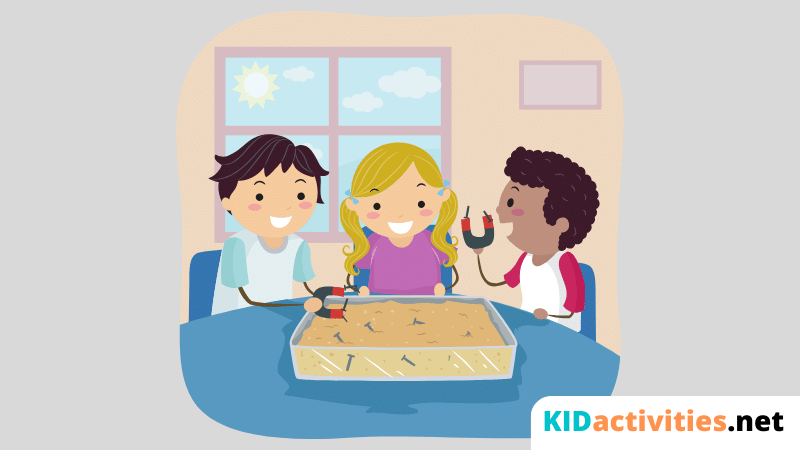
One of the best ways to keep a busy toddler engaged in play is by using a sensory bin. It not only provides a fun experience, but it also creates an environment for imagination, creativity, and focus.
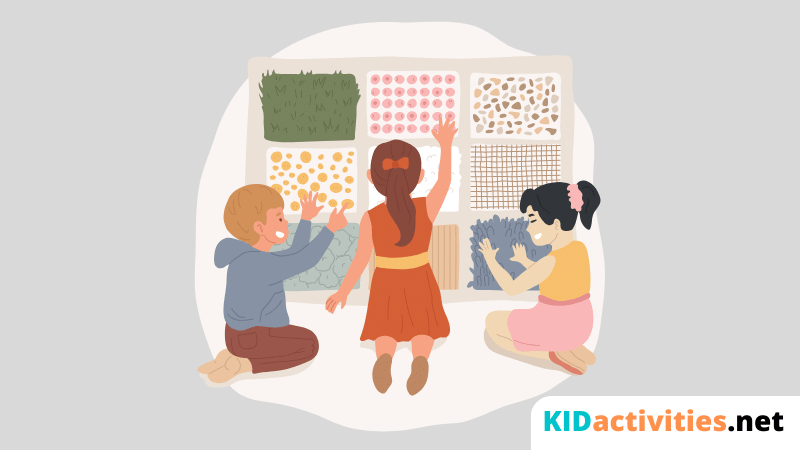
As the name implies, sensory bins allow toddlers to experience new exploration during play, encouraging the use of their senses. A good sensory bin contains everything needed to encourage creativity and imagination. It gives toddlers the freedom to explore and experiment in new and exciting ways to expand their understanding of the world.
Sensory bins give toddlers the opportunity to practice new skills, feel different materials, and learn how those materials interact with each other. Incorporating sensory bins into your child’s play can increase language skills, fine motor skills, and so much more!
Making Your Own Sensory Bins
To create your own sensory bin, you’ll need a few basic materials. The key to creating fun and interesting play within a budget is to use things that you already own. Look around your house for these materials. You’ll be surprised by what you discover! Plus, using what you already have is a great way to reduce waste, cut unnecessary spending, and give forgotten toys a new life.
- Sensory Table or Clear Plastic Box – There are several options on Amazon for sensory tables with storage. IKEA also makes a great sensory table with two storage compartments. However, if you don’t have a sensory table already, a clear, plastic box with a lid works best for storing everything. Use what you have in your house already.
- Fillers – You’ll need to use some materials to go inside the sensory box. Fillers are the materials used inside the boxes. For fillers, you can use things like:
- Rice
- Sand
- Salt
- Pasta
- Cheerios
- Rice Crispies
- Oats
- Water
- Rocks
- Beads
- Kinetic sand (see recipe below)
- Chickpeas
- Lentils
- Pom poms
- Buttons
- Playdough (see recipe below)
- Corn kernels
- Moon sand (see recipe below)
- Birdseed
- Legos
- Snow
- Slime (see recipe below)
- Shaving Cream
- Cloud dough (see recipe below)
- Fake snow (see receipe below)
- Toys or other Educational Materials – The options for sensory bins are endless. You can stick anything inside and make it fun and exciting for your little one! You can use letters, word cards, numbers, puzzle pieces, small toys, big toys, or even theme-related items.
- Extras – Add in beach toys like a shovel or bucket for extra sensory fun. Kitchen items like tongs, spoons, ladles, measuring cups, or measuring spoons are great additions to add too.
Things to Keep in Mind for Sensory Bin Success
- Find a space that you don’t mind getting messy to do the sensory bin activity. This might be outside in the yard, the deck, or in the driveway. If you choose to do it inside, take a deep breath, and know that everything can be cleaned!
- Sensory bins WILL get messy but having a few guidelines in place can really help children understand how to use them. It is essential that adults model for children how to play with the sensory bins. Demonstrate appropriate use of the materials by modeling the “think aloud” strategy of discovery.
- Adults can and should model how to play and interact with a sensory bin. Show your child how to scoop the filler and put it back into the bin and what to do if the filler escapes out of the bin. Part of the sensory bin experience is learning how to clean up after making a mess. Keep a dustpan and broom handy for cleaning up any messes that happen and have your child help you clean it up.
- Some kids don’t mind sitting while utilizing their sensory bins, but others will prefer to stand. If you’re not using a sensory bin table, consider placing the bin on up something that that can allow for kneeling or standing play.
- Another thing to keep in mind when making a sensory bin is that sometimes, less is more. Having fewer, quality items can actually enhance the sensory experience rather than having more, mediocre materials.
- Children do need to be actively monitored while using sensory bins, especially if there are small pieces of any kind present.
Sensational Sensory Bin Ideas
The combines and opportunities for sensory bin play is absolutely endless! What is something your child loves? That is often a good place to start. Here are some fun theme-based ideas to get you started.
Alphabet Sensory Bin
For this type of activity, any type of filler that is not sticky or slimy will work well. For the letters, you can use foam, magnetic, or puzzle letters. For an extra challenge, have a puzzle board where children will need to match the letters in the spaces. If you don’t have an alphabet puzzle, you can write the letters on a piece of paper. Add in a children’s scoop, magnifying glass or tweezer to find the letters for extra fun
Apple Sensory Bin
This is a fun sensory bin theme to introduce around fall. Consider adding a few different types of apples.
You can place one whole apple in the bin along with an apple that has been cut open so that toddlers can explore the core and seeds of the apple.
Add a magnifying glass for extra exploratory fun. This is a good activity to put in water. Kids can see how the apple browns over time. Peel part of the apple and leave it in the bin. You can even give a kid-safe knife (used with supervision) to allow further investigation.
Animal Sensory Bin
Use some fun plastic animals, bath toys, or animal pictures in some filler material. Give a paintbrush or makeup brush to dust off the animals as they are removed from the filler for some extra fun. For an added challenge, have young learners match the animals they remove with real picture of the animal.
Block and Muffin Tin Sensory Bin
This sensory bin is very straightforward to set up. You’ll need some wooden blocks, a muffin tin, and some small tongs. Children can move the blocks into the muffin tin using the tongs, which will help to develop fine-motor skills and spatial awareness.
Bug Sensory Bin
Use some plastic insects like caterpillars, ants, butterflies, spiders, etc. You can use some fun filler like real dirt or grass. You can even use some chocolate pudding to make the dirt!
Car-Themed Sensory Bin
To make a car-themed sensory bin, gather up some vehicles and create some parking spaces in a bin of large filler such as beans. You can create some road blocks or construction cones out of small paper cups.
Christmas Sensory Bin
For this sensory bin, consider creating some hot chocolate scented playdough. Add in some crumbled candy canes to the playdough. Offer a rolling pin and cookie cutters to practice fine motor skills.
To create a sensory bag, use water or glue with some glitter. Add any Christmas ornaments or beads inside the bag.
Dinosaur Sensory Bin
For this sensory bin experience, aquarium rocks or small pebbles will work best. Add in some fun plastic dinosaur toys. Consider adding some plastic trees to the bin or create a mini volcano with vinegar and baking soda.
Easter Sensory Bin
Fill the sensory bin with crinkly Easter paper. Considering hiding plastic Easter eggs within the paper or put small things inside the plastic eggs. You can write letters on pieces of paper and have kids match uppercase and lowercase letters. You can also do the same for sight words or numbers.
For more sensory fun, add in some Peeps to the bin and have children enjoy exploring these fluffy, marshmellow candies.
Farm Sensory Bin
Pair this fam sensory bin experience with the song or book “Old MacDonald.” Use plastic farm animals and pair with corn kernel filler. Or, give the animals a bath by filling the sensory bin with water and non-toxic soap and use a toothbrush to scrub them clean.
Fall-Themed Sensory Bin
The opportunities for this sensory bin are endless! Add some colorful leaves, pinecones, acorns, and anything else you can find that is perfect for little minds and hands to experience the season of fall. Use corn kernels as filler and put small pumpkins or gourds in the bin for a different experience.
Fruit Sensory Bin
Add fruits like lemon and orange slices, apple slices, blue berries, raspberries, etc. Into a bin filled with water. Freeze some of the fruit in ice ahead of time and watch it help! Who says you can’t play with your food?
Jungle Sensory Bin
Pair with a book about wild animals in the jungle. Use dirt, blue rocks, and green rocks to create the landscape of the jungle backdrop. Faux plants or leaves are especially helpful in creating the jungle feel. Use plastic animals or any jungle animal toys that you have. Add in some trees and vines by creating them with construction paper or using any that you may have.
Lego (or Car) Wash Sensory Bin
This sensory bin can be completed with either legos or cars. Create a washing experience for toys by creating a car wash. Give your child a squeeze bottle filled with water and let them have fun with soap and bubbles. Use old toothbrushes and sponges to clean the wheels or to get into hard-to-reach places.
Literacy Sensory Bin
Create a sensory bin based around a book. Here are some ideas for quality pieces of toddler-approved literature below:
- The Very Hungry Caterpillar – Use a caterpillar and have him “eat” through the fruits in the book. Use a toilet paper roll as a chrysalis and make a butterfly out of water colored coffee filters and a pipe cleaner.
- We’re Going on a Bear Hunt – Use a plastic bear toy and some little people or lego people to create the family. Put some “mud” in a bowl and fill the bin with grass and plastic trees. Create a little house and a cave for the bear.
- Chicka Chicka Boom Boom – Use foam, magnetic, or paper letters and a palm tree to make this fun literacy sensory bin. Use filler such as beans and hide the letters inside.
Mud Sensory Bin
Take some natural mud from the front yard or make your own with dirt and water for this messy but fun sensory bin. You can also make some taste-safe mud by using chocolate pudding flavored play dough. Add some plastic pigs to complete this muddy scene.
Nature Sensory Bin
With a theme as broad as “nature,” you can use this idea a few times! Teach little learners about birds by building a faux bird’s nest complete with small eggs, a toy bird, feathers, bits of yarn, etc. Take this in another direction by adding in forest animals such as a bear, fox, wolf, etc. Use some moss as the ground with some black dirt. Throw in a couple of acorns and twigs for some added forest charm.
Ocean Sensory Bin
Here’s the perfect way to create your own little aquarium. Use aquarium rocks and plants for the bottom of the bin. Add in a few bath toys or some toy ocean animals. Fill the bin with some water, and you have a mini ocean! Buckets and scoops are especially fun to use with this sensory bin.
Penguin Sensory Bin
To create this sensory bin, decide which filler you would like to use – cotton balls, ice and water, fake snow, or something else. Add in some toy penguins and create an ice floe. This sensory bin pairs well with a non-fiction book about penguins and arctic life.
Pumpkin Sensory Bin
Little learners will have a blast exploring the inside and outside of a pumpkin. You can give kids a whole pumpkin to explore as well as a separate bowl of what is inside the pumpkin. Give kids a magnifying glass to look at the seeds. Give kids the empty pumpkin as well as a spoon to take out more of the insides.
Space Sensory Bin
Use some black beans as the filler for this sensory bin. Add in some astronaut toys, spaceships, rockets, bouncy balls for planets, and glow in the dark stars. Turn off the lights to see them glow!
Spring Sensory Bin
To create a spring sensory bin, use some of the fake grass that you can find in stores around the springtime. Add in some faux flowers. You can also give kids some seeds and a watering can to water the plants. Add in some spring insects to finish off this sensory bin.
Summer Sensory Bin
There are many options for summer sensory bin options. You can use sand (or homemade kinetic sand – see recipe below) and seashells with a bucket and scoop or make ice cream with cotton balls and sprinkles with an ice cream cone. Or, make boats from pool noodles and fill the bin with water to race them and watch them float!
Water Sensory Bin
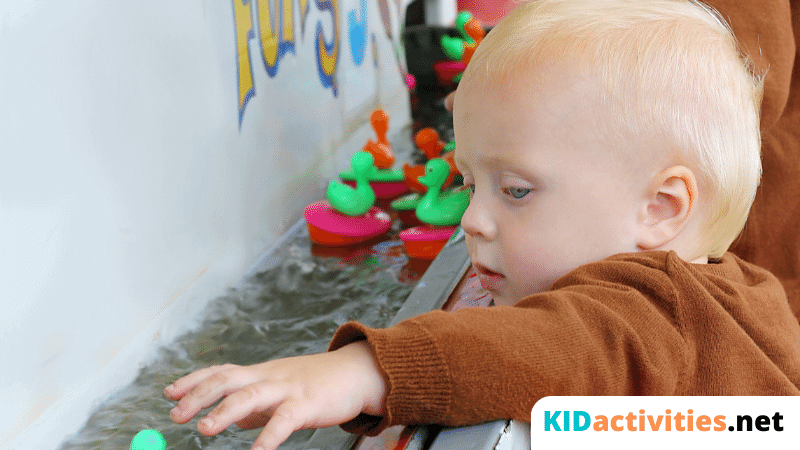
This one can be as simple or complex as you’d like to make it! Fill the sensory bin with water and offer lots of different containers in varying sizes. Kids will have a lot of fun with this simple take on using water in a sensory bin.
Weather Sensory Bin
Create a weather sensory bin by using different colored rice filler. Use a scoop to have kids scoop the rainbow-colored rice filler into separate containers.
For another take, create a rainstorm, thunderstorm, and clouds with pipe cleaners and cotton balls. Use beads to create rain, snow, and hail. Put a felt rainbow together by putting the colored pieces in order.
Winter Sensory Bin
To make a fun winter scene, try using cotton balls as filler. You can use some of the same ideas from the Christmas theme such as hot chocolate play dough or a glitter sensory bag. For added fun, add in some pine tree branches, pinecones, and use fake snow as the filler (recipe below). Create some pipe cleaner snowflakes.
Homemade Filler Recipes
Play dough Recipe
To make homemade playdough, you’ll need 1 cup of flour, 1 cup of water, 2 teaspoons of cream of tarter, 1/3 of salt, 1 tablespoon of vegetable oil, and food coloring (optional). Mix all together over the stove. Cook over low heat until it’s thickened. Let the dough cool.
Cloud Dough Recipe
Wanting to use cloud dough as a filler for your sensory bin? Follow this easy recipe below for the perfect cloud dough, every time.
Use ½ cup of lotion and 1 cup cornstarch. Add ½ cup of lotion to a bowl. Add 1-2 drops of food coloring if you want some color. Mix this into the lotion. Add the cup of cornstarch and mix together. Knead for approximately 5-10 minutes until the dough begins to form. If it is too crumbly add in a little bit of lotion.
Kinetic Sand Recipe
To make kinetic sand at home, you’ll need fine sand, cornstarch, and oil. First, mix the cornstarch and sand together. Add the oil and mix well. Your kinetic sand is ready when there are no oily or dry clumps.
Moon Sand Recipe
Moon sand is a great sensory bin filler. It’s very soft and young learners will have hours of fun scooping, burying, and covering. To make moon sand, you’ll need 8 cups of all-purpose flour and 1 cup of baby oil. Add to a bowl and stir until completely combined. This will take about 5 minutes. Voila! Your moon sand is ready to be played with.
Homemade Slime Recipe
There are many different recipes that can be used to make slime, but this one is a crowd favorite. You’ll need glue, borax, and food coloring (optional). In a bowl, mix 1 ounce of glue and ¼ cup of water. You can add food coloring to the mixture if you want. Add ¼ cup of borax to the mixture and stir until combined. Knead with your hands so the glue and borax mixes together completely.
To make oobleck slime, you’ll need cornstarch and water. Using a ratio of 2 cups cornstarch to 1 cup water, pour the amounts little by little into a bowl. Slowly mix together until combined. It should appear like the consistency of quicksand. When you move slowly through the mixture, it will be like liquid. If you punch the mixture, it will act like a solid.
Fake Snow Recipe
To make your own homemade, fake snow, you’ll need cornstarch, baking soda, and water. Pour equal amounts of cornstarch and baking soda on a baking sheet. Mix both ingredients together. Pour a little bit of water onto the pan and scrunch together so you can form it into a ball.
Kid-Friendly Sand
Crush up some graham crackers or cookies into small pieces for a kid-friendly sand option.
Wrapping Up
Sensory bins cultivate creativity, imagination, good habits, and healthy communication among peers. They are perfect for helping your kids enjoy some screen-free play time while learning important skills at the same time!
FAQ’s
- Where can I find inexpensive sensory bin materials? If you do find yourself needing a few things for your sensory bins, you can always check your local Dollar Store or Target One Dollar Spot for some great deals. Garage sales and Facebook Marketplace are other great ways to find some good deals on toys and materials.
- How often should I create new sensory bin experiences for my child? There is no right or wrong answer–you can change out your sensory bin every few days or once a week. It’s completely up to you! If your child enjoys playing with a particular theme, consider extending that sensory bin experience or adding to it.
- Are there any materials that should not be included in sensory bins? Water beads are not a recommended material to use in sensory bins due to it being a choking hazard.
For more toddler fun, check out this post about nursery rhymes your toddlers will love or this post about fun letter recognition strategies.