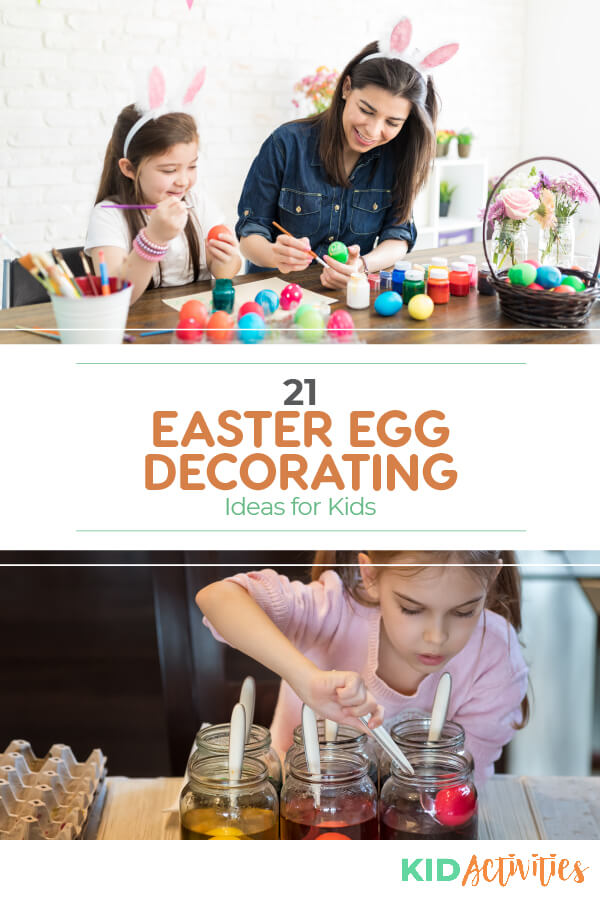
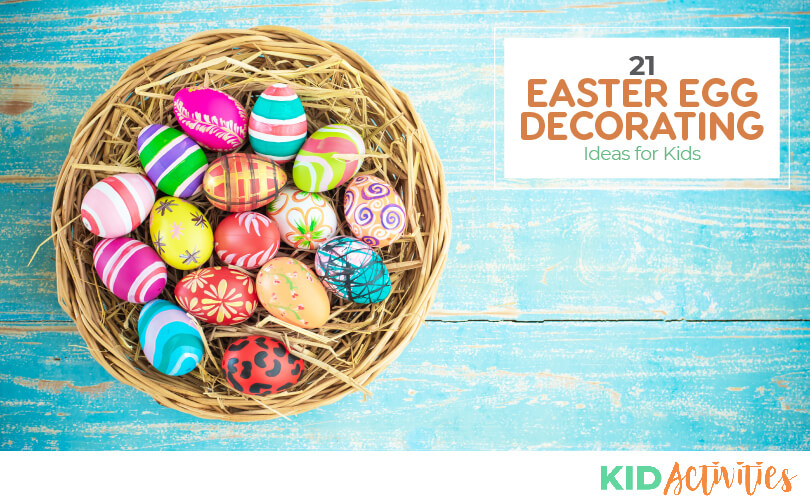
Have you made and decorated eggs with your kids? It can be tons of fun while also tapping into your child’s creativity. We’ve compiled a list of 21 Easter egg decorating ideas.
These ideas will use different tools and objects to create different patterns and designs. After you are done painting them you can use them for some of your other fun Easter activities like an Easter egg hunt.
Remember, it’s not safe to eat painted eggs. Please monitor the kids to prevent them from munching on them.
Egg Decorating Ideas
Egg Painting Tip: For a sturdy stand to hold the egg while you paint it, use an empty toilet paper tube. Prop the egg on top and decorate.
1. Toothbrush Splattered Eggs
Instructions
- Scrub an old toothbrush in watercolor or poster paints.
- Aim it at the egg then strum your thumb over the bristles.
- The paint will splatter a fine mist-like spray paint on the eggs.
- Have fun layering different colors.
2. Rubberband Design Eggs
Instructions
- Wrap elastic rubber bands around hard-cooked eggs, then drop them in the food-coloring dye.
- Remove the eggs; pat dry with paper towel; remove the rubber bands when eggs are dry.
- The parts of the egg covered with rubber bands will not be colored.
- You can STOP at this point or—-once the rubber bands are removed, you can drop the egg into a different color dye.
3. Eggs with Perfect Circle Designs
Instructions
- Take the hard-boiled egg and apply re-enforcement circles on it. (the kind you put on loose-leaf paper so the holes don’t tear)
- Dip your egg in the color; when it’s dry, remove the re-enforcement.
- You have a perfectly designed egg!
4. Aluminum Foil Eggs
Instructions
- Crumple and uncrumple a sheet of aluminum foil.
- Coat the foil with acrylic paint, then set the egg in the center of the foil and loosely wrap it.
- Gently press the foil against the egg, then remove the egg and let it dry.
- (DO NOT EAT EGGS WITH ACRYLIC PAINT)
5. Shiny Easter Eggs
Instructions
- Mix SWEETENED condensed milk (such as Eagle Brand) with food coloring.
- Paint with brushes or Q-tips.
6. Toothpick Painting
Instructions
- Using acrylic paint, use a toothpick to paint on small, detailed designs such as flowers, stars, swirls, butterflies, and other designs. (Do not eat eggs that have paint on them)
7. Bubble Wrap Eggs
Instructions
- Coat bubble wrap with acrylic paint, then roll the egg over it.
- (Do not eat eggs colored with acrylic paint — these are just for show)
8. Abstract Eggs
Instructions
A jar of rubber cement can help make beautiful Easter eggs! This design is very simple to accomplish, even for children — with some supervision. Fun part! No two eggs are exactly alike.
Materials:
- Hard-boiled eggs
- Basic egg dyes in desired colors
- A jar of rubber cement
Instructions
- These eggs are really simple to make. The basic principle is that you drizzle rubber cement over the egg, let it dry, then color the egg.
- Naturally, the egg dye won’t stick to the parts that are painted with the glue. After the egg is colored to the desired shade, let it dry completely, then carefully peel off the rubber cement.
- You can paint the rubber cement on plain white eggs…or dye the egg with a base color, then apply the rubber cement and re-dip in a contrasting color. The most important tip is to dry the eggs completely between colors and or coats of rubber cement.
Source: fabulousfoods.com
9. Dinosaur Eggs
The reptilian-like designs on these eggs are intricate; they look like they would be difficult to make. Not so…With a bit of help, even young children can get fabulous results. The best part is–no two eggs are ever alike.
Materials:
- Hard boiled eggs
- 6″ square of cheesecloth for each egg
- Rubber bands or twist ties
- Small paintbrushes or cotton swabs
- Basic egg dyes in desired shades
Instructions
- Wrap a piece of cheesecloth tightly around a dry egg, bundling the edges together and fastening them at the top with a rubber band or twist ties.
- Dip your paintbrush or cotton swab and dip it into the egg dye, then dab this onto the cloth-covered eggs.
- Repeat, painting the eggs with various shades in various places, use your imagination.
- Overlap some colors for special effects, or keep it monochrome.
- When you’re finished painting, set the egg aside to dry.
The more patient you are and the more the egg dries, the better. When you unwrap the egg, you’ll be left with a design that resembles armadillo skin. You can use this technique over plain white eggs, over a base coat of color or even over marble colored eggs.
Another technique, which will give a subtle textured effect to a solid colored egg is to wrap the egg in cheesecloth, as per the instructions above, then dip the whole thing in the cup of egg dye. Let it sit until done to desired shade. Let dry (it doesn’t have to be bone dry, but the drier the better) before carefully removing cheesecloth.
Source: fabulousfoods.com
10. Face Eggs
Use craft supplies such as yarn, ribbon and fabric scraps to create members of your family (or members of your students’ families) Attach with craft glue.
Add facial features using permanent markers for the mouth, nose, and eyes. Cut a paper towel tube into different heights for Mom, Dad, sister, etc. Decorate the tube with construction paper for clothing. Place the painted egg onto the holder. You can also add the individual’s name to the tube. Sample photographs show one plain face drawing and one with a short tube. (Which are also fun!)
11. Waxing Easter Eggs
This one will require adult supervision.
Instructions
- Drip wax from a lit taper candle onto the egg.
- After the wax is set, drop the egg into food coloring dye.
- Remove the egg from the dye and paper-towel pat it dry.
- You can scrape the wax off the egg and dip into another dye…or leave the wax on…
12. Collage Your Easter Egg
Instructions
- After eggs are boiled and cooled–decorate them with a variety of craft supplies.
- Using white or craft glue, attach the materials.
- Use markers, stickers, sequins, glitter, buttons, rick rack, ribbons, beads, etc. Let your imagination go wild.
13. Sponge Painted Eggs
(Do NOT eat eggs that have been painted!)
Instructions
- Cut a sponge (natural if possible) into small pieces.
- Pour acrylic paint into a shallow dish or onto wax paper.
- Secure the sponge pieces onto clip-type clothes pins–you need one for each color of the paint.
- Dip the sponge into the paint and dab the egg with it—Start with darker colors first for best effect.
- Place egg in an egg cup to dry.
14. Marbelized Swirled Eggs
Instructions
- Mix 1 tablespoon food coloring with 1 tablespoon vinegar in a cup.
- Add 1 tablespoon of vegetable oil and 1/2 cup cool water. If necessary, add a little more water, so the liquid will completely cover an egg when placed in the cup.
- Make different swirled colors in different cups.
- Gently lower an egg into a cup using a spoon until the egg is completely covered by the liquid.
- Remove the egg immediately and pat dry with a paper towel. Your egg will have a marbleized look.
- FYI: The pictured eggs have a coat of clear nail polish on them to give a gloss.
15. Food Coloring Painted Easter Eggs
Instructions
- Use undiluted food coloring and a cotton swab to paint on hard-boiled eggs.
- Let the eggs sit in egg cups until dry.
16. Eggs Painted Using Acrylic Paint
Instructions
- Use acrylic paints and a cotton swab to paint on hard-boiled eggs.
- Let the eggs sit in egg cups until dry.
- Do NOT eat eggs that have been colored with paint!
17. Crayon Resist Eggs
Instructions
- With crayons, draw dots, line shapes, and swirls on the Easter eggs before placing them in the dye.
- The wax will resist the dye and your picture will show through.
- If you are dying Easter eggs with young children and do not want to use dye.
- The children can stop after coloring the eggs with crayons.
18. No Dye Eggs with Tissue Transfer
Materials:
- Eggs (white work best)
- Craft tissue Paper
- Scissors
- Water
Instructions
- Hard boil the eggs and let cool.
- Have children cut or tear different colors of tissue paper into small pieces.
- Use water to stick the tissue paper to the eggs.
- Allow drying.
- When dry, the children can remove the tissue paper to see the colors and patterns on their Easter eggs.
Note – tissue paper for gift wrapping will not work in this project. The coloring in craft tissue paper transfers easily to the egg.
19. Easter Bunny Eggs
Instructions
- Dye eggs in solid colors.
- Dry them with a paper towel. For each bunny egg, cut two oval-shaped ears from colored paper. Glue the ears to the top of the egg.
- Add plastic “google” eyes. Use markers to add a small triangle for
- a nose and some whiskers. Glue on a cotton ball for a tail.
20. Decoupage Eggs
Materials:
- Empty eggshell mounted on a 1/8-inch-diameter dowel …
- Image to decorate the surface of the egg: greeting card, wrapping paper, stationery, or a photocopy of a photograph
- All-purpose glue
- Toothpick
- Damp paper towel or cloth
- Acrylic paint in colors for the background (optional)
- Sponge brush
- Mod Podge, Royal Coat, or any decoupage medium
- 6-inch square of Styrofoam
- Small paintbrush
- Brush-on glitter paint (optional)
- 1/2-inch-diameter gold findings
Instructions:
- Using scissors, carefully cut out the image and paste it on the egg using all-purpose glue, cutting into the image to help it lie flat. Press out any wrinkles by gently rolling a round toothpick over the image. Wipe off any excess glue with a damp paper towel or cloth.
- If desired, paint the background of the image with a wash of acrylic paint; let the paint dry.
- Using a sponge brush, dab decoupage medium onto the egg. Let the medium dry. Repeat this step twice. Place one end of the dowel into the square of Styrofoam as a base to hold the egg while it dries.
- If desired, embellish the egg with brush-on glitter paint, using a small paintbrush.
- When the egg is dry, add finishing touches: Carefully cut off the masking tape, slide the egg off the dowel, and glue a gold finding at each end of the egg to cover the holes.
Source: Ladies Home Journal
21. Water Color & Brushes
Get out your watercolors and fine paintbrushes and paint some pastel designs on your eggs.
TIP: For a sturdy stand to hold the egg while you paint it, use an empty toilet paper tube. Prop the egg on top and decorate. Use different brushes for different techniques
*Idea: You can buy EASTER STICKERS, and have the kids cover the eggs with those. How easy can it get!
[amazon box=”B079HRG7F7″]In Summary
We hope you have enjoyed these creative Easter egg decorating ideas. Which one was your favorite? Were you able to design eggs using multiple methods?
If you wish to preserve your Easter eggs, you can try blowing out the eggs. This will remove all the inners and allow you to keep the decorated eggs as keepsakes.
Make sure you check out our fun Easter games and Easter riddles too! Happy Easter!


