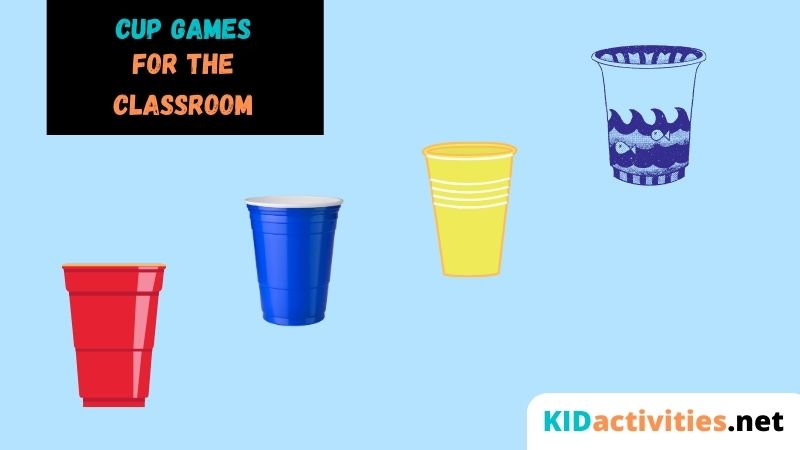
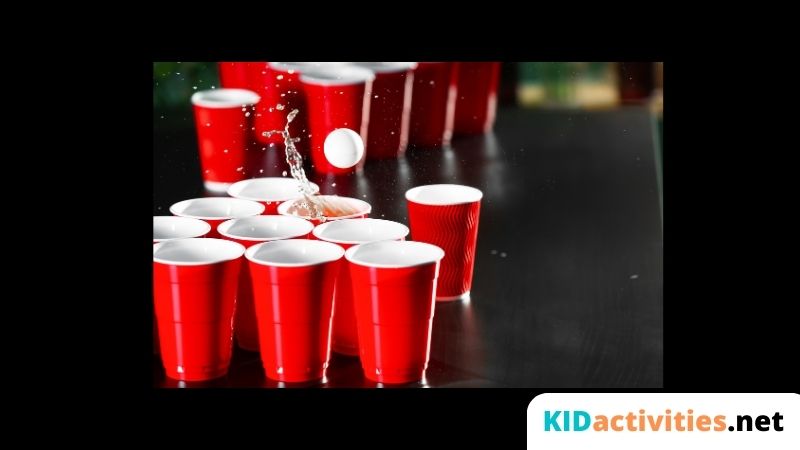
Did you know that cup games are an engaging way to help students learn and have fun in the classroom? Cup activities are a great way for teachers to add variety to their lessons, helping students stay focused and engaged.
Not only do they provide a break from traditional learning activities, but they also encourage creativity and problem-solving skills.
Plus, you can easily tailor these activities for any age group or subject matter.
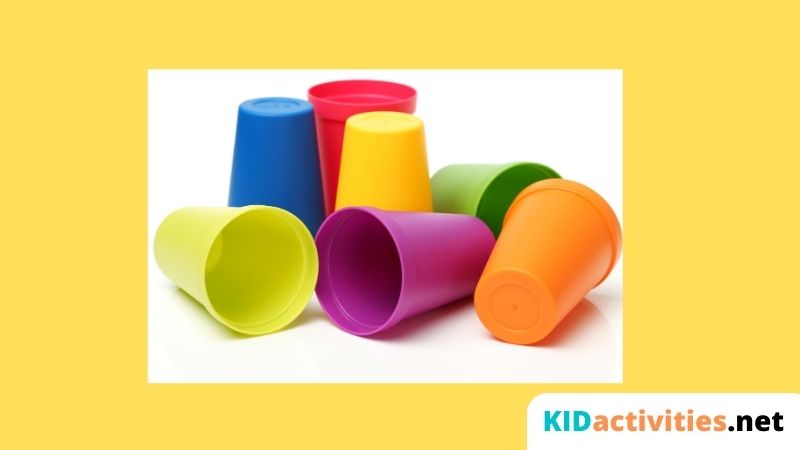
Players use cups of different sizes and colors as props while they try to do different things, like stack them up, make patterns, or solve puzzles.
With so many possibilities available with just one set of cups – it’s easy to see why this game has become popular among educators everywhere!
In this article, we will discuss a few Games that involves cups for the Classroom.
Top 25 Cup Games for the Classroom
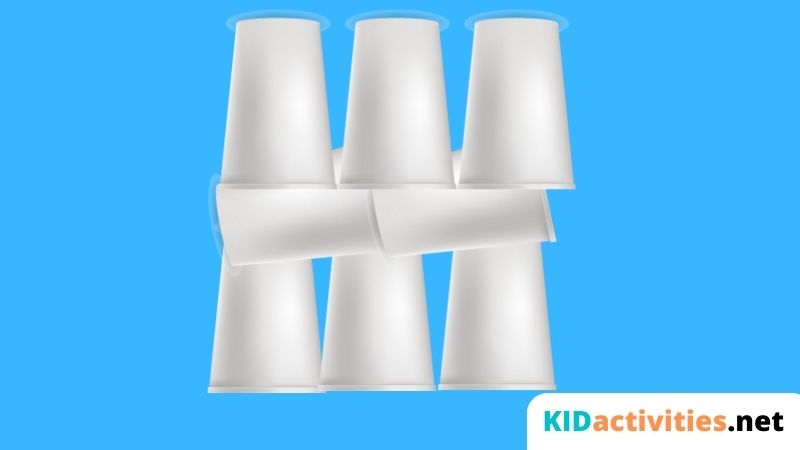
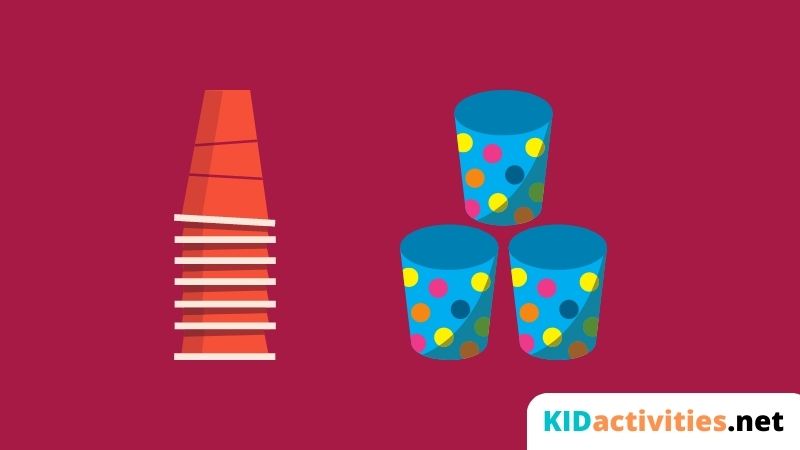
1. Cup Stacking
In Cup Stacking, students must take a set of cups and stack them up in a tower.
The game can be played in teams or individually, and the object is to make the tallest tower possible with the cups.
Here is a detailed step-by-step guide that you need to follow to play cup stacking in a classroom:
- Step 1: Players must know how to stack cups to start.
- Step 2: Players can start by placing the cups on the tabletop in a row.
- Step 3: After that, players need to place their cups to touch each other.
- Step 4: Players can stack cups as high as they want.
- Step 5: Players can then start stacking cups in a straight line.
2. Cup Building
In this game, students must use cups of different sizes and colors to construct an object or structure.
It could be something like a tower, a bridge, or even a small city!
Here is a detailed step-by-step guide that you can follow to play cup building in a classroom:
- Step 1: Gather several different sizes and colors of plastic cups.
- Step 2: Divide the students into small groups of three or four.
- Step 3: Explain the objective of the game, which is to build a structure out of plastic cups.
- Step 4: Give each group a set of cups, and provide additional materials such as tape and scissors if necessary.
- Step 5: Give the groups 10-15 minutes to construct the structure.
- Step 6: Encourage the students to be creative and to think outside the box.
- Step 7: After the time is up, have each group present their structures and discuss their approaches.
- Step 8: Finally, have a group discussion about the experience and what the students learned.
3. Pattern Matching
In this game, students must use cups of different colors and sizes to create a pattern or design.
It could be something simple like a checkerboard pattern or something more complex like a mosaic.
Here is a detailed step-by-step guide on how students can play this game:
- Step 1: Gather together cups of different colors and sizes.
- Step 2: Decide on the pattern or design that needs to be created.
- Step 3: Assign each student a cup and instruct them to arrange it in the pattern.
- Step 4: Allow students to take turns pointing out where their cup needs to be placed in the pattern.
- Step 5: Encourage students to use trial and error to determine where their cups should go.
- Step 6: Once the pattern is completed, praise students on a job well done!
4. Memory Game

The game requires two or more participants, each with a set of cups of different sizes and colors.
Players must memorize the pattern of the cups before flipping them over and then trying to recreate it exactly.
It can be done individually or in teams!
Here is a detailed step-by-step guide on how to play a memory game with students in a classroom:
- Step 1: Gather two or more players with individual sets of cups
- Step 2: Place the cups in a pattern
- Step 3: Each player must memorize the pattern of their own set of cups
- Step 4: Flip all the cups over
- Step 5: Players must then attempt to recreate the original pattern of their set of cups as accurately as possible
- Step 6: If playing as a team, players can discuss and collaborate to figure out their cup patterns
- Step 7: The player or team that recreates their pattern first is declared the winner!
5. Domino Rally
This game requires two or more players to build a structure using cups of different sizes and colors.
The goal is to create a structure with the cups that will allow dominoes to be placed on top so that when children knock down the first domino, the rest will follow in a chain reaction.
Here is a detailed step-by-step guide on how to play domino rally in a classroom with kids:
- Step 1: Gather two or more players with individual sets of cups.
- Step 2: Select a location in the classroom for the domino course.
- Step 3: Start building the course by placing the cups in different positions and angles.
- Step 4: Once a course structure is built, place dominoes on top of each cup.
- Step 5: All players must agree on the structure and positioning of their cups.
- Step 6: Begin with one player as they knock down the first domino.
- Step 7: If done correctly, all other dominoes will follow in a chain reaction.
- Step 8: The last domino to fall is declared the winner!
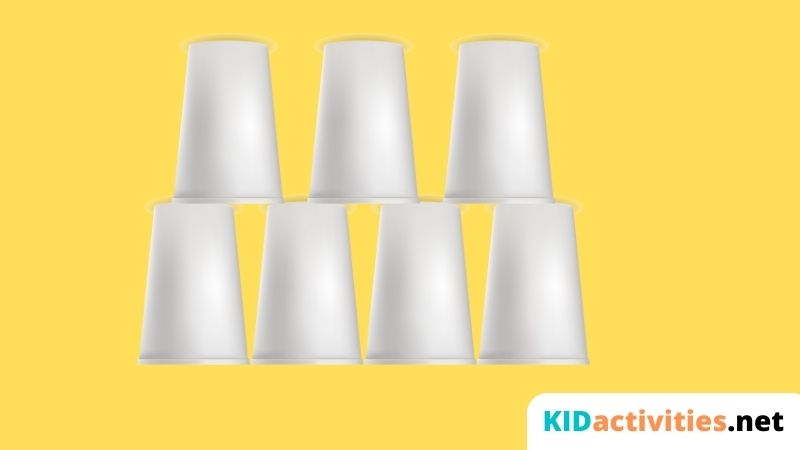
6. Tower of Cups
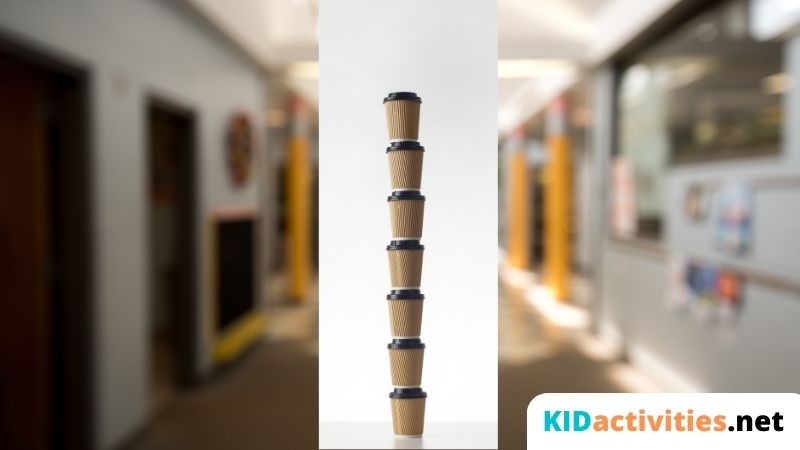
In this game, students must use cups of different sizes and colors to build a tower as tall as possible.
The challenge is to create a structure that is stable enough to withstand the force of gravity.
It is sure to be a hit in any classroom!
Here is a detailed step-by-step guide on how to play this game with kids in a classroom:
- Step 1: Gather two or more players with individual sets of cups
- Step 2: Each player should create their tower, starting with the largest cup at the bottom
- Step 3: The goal is to build a tower as tall and stable as possible
- Step 4: Players can work together to form creative solutions and problem-solving.
- Step 5: The tower must remain stable while building it up
- Step 6: Once the tower is completed, have all participants agree that it is complete
- Step 7: The tallest and most stable tower wins!
7. Hula Hoop Challenge
The game aims for students to use cups of different sizes and colors to construct a hula hoop around their teammates.
Each team must work together to develop creative solutions and use the cups to their advantage.
To play the hula hoop challenge with kids in a classroom, follow these steps:
- Step 1: Gather two or more teams of students.
- Step 2: Give each team individual sets of cups in various sizes and colors.
- Step 3: The goal is for each team to create a hula hoop using the cups.
- Step 4: Teams must work together to come up with creative solutions on how to make the hula hoop out of their cups.
- Step 5: Each team must place their cups around one teammate, forming a hula hoop shape.
- Step 6: The one who creates first will win.!
8. Hopscotch Maze
In this game, teams must use cups of different sizes and colors to create a maze or obstacle course on the ground.
Teams have to construct their mazes to hopscotch their way through them successfully.
The team with the most successful maze wins!
It will surely bring a lot of fun and learning into your classroom!
Here is a detailed step-by-step guide that you can follow to play a hopscotch maze with kids in a classroom.
- Step 1: Gather two or more teams of students.
- Step 2: Give each team individual sets of cups in various sizes and colors.
- Step 3: The goal is for each team to create a hopscotch maze using the cups.
- Step 4: Teams must work together to come up with creative solutions on how to make the maze out of their cups.
- Step 5: Each team must place their cups around the ground, forming an obstacle or maze.
- Step 6: Once the maze is completely formed, have all participants agree that it is complete.
- Step 7: The most successful and navigable maze team wins!
9. Musical Cups
It requires two or more players, each with a set of cups of different sizes and colors.
To play this game, we will give each player their cups.
Players will have to listen carefully to the music.
They can pass their cups to the next person when the music starts.
If someone is caught passing the cup after the music has stopped, that player will be eliminated.
So, to bring joy to the classroom, here is a detailed step-by-step guide that you can follow to play Musical Cups.:
- Step 1: Gather all your students into a circle around an empty space.
- Step 2: Place one cup on each side of the circle, then have everyone stand behind their cups.
- Step 3: Choose music for the game and start playing it on repeat.
- Step 4: As soon as the music starts playing, kids must pass their cups around the circle in sync with the music’s tempo.
- Step 5: When the music stops, everyone has to pass their cup on before anyone else; if two players try to pass their cups simultaneously, both will be eliminated from this round!
- Step 6: Take away one cup until only two people (the winner and runner-up) are left.
- Step 7: Repeat the process again, and you’ll have a winner!
10. Ring Toss
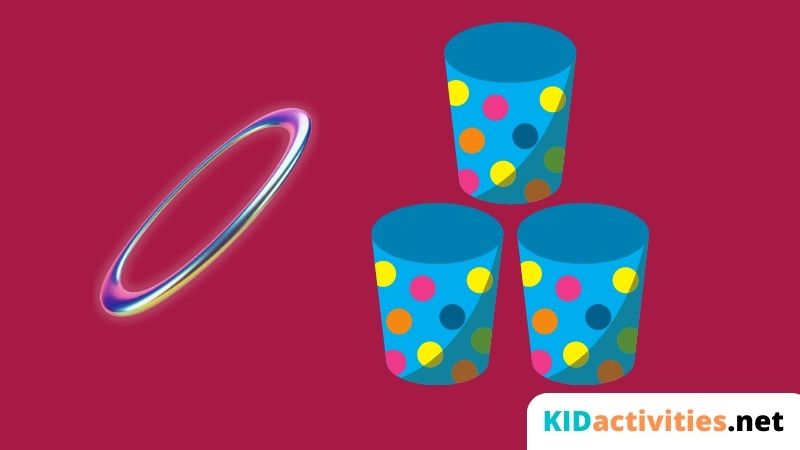
Each team gets a set of cups of different sizes and colors in this game.
The game’s goal is to use the cups as targets and attempt to throw rings over them.
Students must figure out how to position the cups to maximize their success chances.
Follow this detailed step-by-step guide to have a great experience:
- Step 1: Gather a set of cups of different sizes and colors, rings (any color), and a flat surface on which to play.
- Step 2: Divide players into two teams.
- Step 3: Determine a throwing line for each team and designate an area where each team must throw the rings.
- Step 4: Count the cups in each team’s area, assigning a point value for each cup. The larger the cup, the more points it is worth.
- Step 5: Give teams a few minutes to strategize and position their cups to maximize their scoring potential.
- Step 6: Players take turns throwing rings at their opponents’ cups from the throwing line.
- Step 7: Each time a ring lands on or around a cup, the opposing team earns points for that cup.
- Step 8: Continue the game until all rings have been thrown, then tally up the scores. The team with the most points wins the game!
11. Simon Says
You’ll need two or more players and cups of different sizes and colors.
The players have to follow the instructions provided by the chairman in this game.
In each round a player will be eliminated. The last player remaining will be the winner.
Here is a detailed step-by-step guide that you can follow to play Simon says:
- Step 1: Gather all your students into a circle around an empty space.
- Step 2: Place one cup on each side of the circle, then have everyone stand behind their cups.
- Step 3: Choose two players to be “Simon” and one player as the “Chairperson”; these players will alternate roles throughout the game.
- Step 4: The Chairperson will choose actions for the rest of the players to follow. For example, “Simon says pick up your cup” or “Simon says pass your cup to the right.”
- Step 5: Players must only follow directions if they begin with “Simon Says”; if they do not start with this phrase, any action a player takes will disqualify them from this round!
- Step 6: To make things more challenging, you can add time limits or perform multiple tasks at once (e.g., “Simon Says pick up your cup and pass it to the left”).
- Step 7: The last player remaining is crowned winner while everyone else gets eliminated and has to start over again!
12. Cup Flip Challenge
In this game, teams must use cups of different sizes and colors to build a tower as tall as possible, with the end goal being to flip the top cup without any other cups falling.
To do this, each team must think creatively and use the cups to their advantage.
Here is a detailed step-by-step guide on how to play the cup flip challenge in a classroom:
- Step1: Divide the students into teams of 3-4 players.
- Step 2: Provide each team with different-sized and colored cups.
- Step 3: Ask the teams to build a tower using their cups as high as they can without it falling over.
- Step 4: Encourage creativity and problem-solving skills within the teams .
- Step 5: The goal is for each team to flip their top cup without any other cups falling off.
- Step 6: Award points for how tall their tower was before it fell, if applicable.
- Step 7: Give rewards to the winning team who managed to complete the challenge.
13. Hot Potato
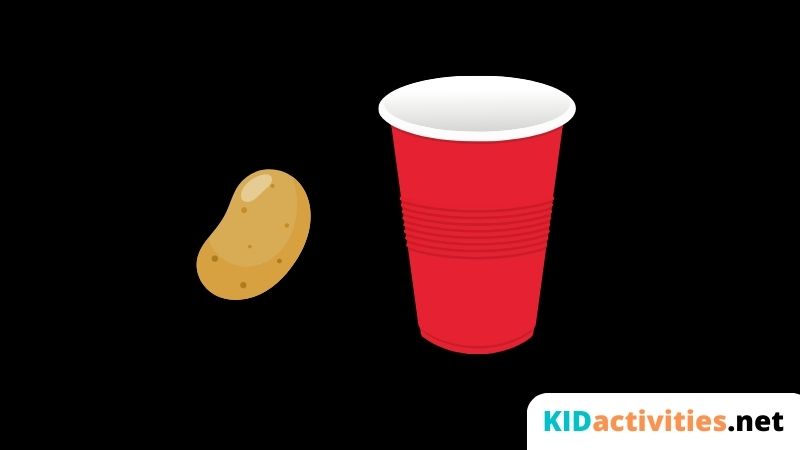
In this game, teams must use cups of different sizes and colors to catch a ‘hot potato’ between them – usually a ball or other small object.
The challenge? Players must keep the potato moving by tossing it to each other while ensuring none of the cups fall!
Here’s how you can play hot potato in a classroom:
- Step 1: Gather the materials needed: a small ball or other object, cups of different sizes and colors
- Step 2: Divide into two teams and determine who will go first
- Step 3: Place the cups in a circle around the playing area so that they form an obstacle course with openings between them
- Step 4: The team going first must then toss the hot potato to their teammate while avoiding having any of their cups fall over
- Step 5: Players on each team take turns tossing the potato until one team is successful in keeping all of their cups standing without spilling any of them
- Step 6: If neither team can keep all their cups standing for five complete rounds, nobody wins. Otherwise, whichever team does it first is declared victorious!
14. Hide and Seek
To play, teams must use cups of different sizes and colors to create a hiding spot for the “seeker.”
The goal is for the team to hide the seeker so they cannot be found!
Here’s how you can play hide and seek in a classroom with kids:
- Step 1: Divide players into two teams.
- Step 2: Provide each team with different-sized and colored cups.
- Step 3: One player from each team is designated as the “seeker.”
- Step 4: The goal of the game is for one team to create a hiding spot for their seeker using the cups.
- Step 5: Once all the hiding spots are set up, the other team will try to find them.
- Step 6: Points are awarded when one side successfully hides their seeker or finds another’s.
- Step 7: Play multiple rounds and switch seekers between rounds.
- Step 8: The winning team is declared at the end of all rounds.
15. Crazy 8s
In this game, teams must use 8 cups of different sizes and colors to build structures that meet the criteria of the “Crazy 8” challenge.
Each time needs to construct a tower using 8 cups.
Here’s how you can play Crazy 8s in a classroom with kids:
- Step 1: Divide into teams of two or more players.
- Step 2: Each team should be given 8 cups of different sizes and colors.
- Step 3: Set a timer for 5 minutes.
- Step 4: During this time, the teams must use their cups to build an eight-sided tower that meets the criteria set by the challenge.
- Step 5: Once all towers have been built, judge which one is closest to meeting the criteria.
- Step 6: The team whose tower comes closest wins!
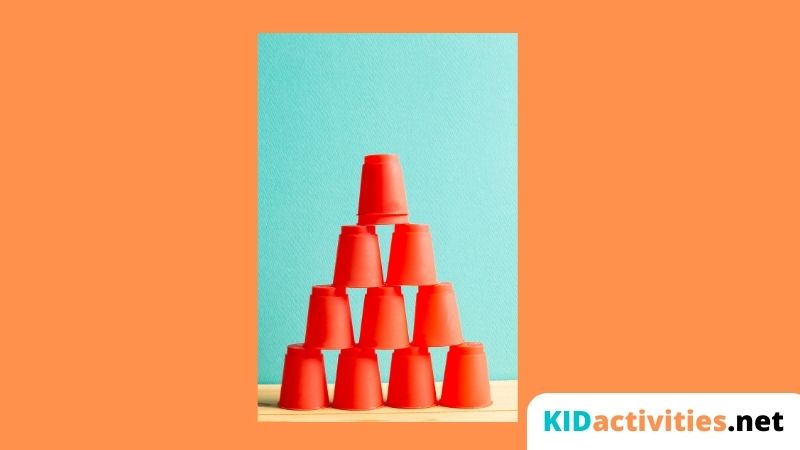
16. Pyramid Builder

Each team gets a set of cups of different sizes and colors in this game.
The game aims to use the cups as building blocks and attempt to construct a pyramid or other structure.
Players must think creatively about using the cups in such a way that will make their structure stable and strong.
Here’s how you can play Pyramid Builder in a classroom with kids:
- Step 1: Divide the classroom into teams.
- Step 2: Give each team a set of cups of different sizes and colors.
- Step 3: Challenge the players to use the cups as building blocks and attempt to construct a pyramid or other structure.
- Step 4: Teams must collaborate by discussing ideas, creating plans, and working towards a common goal while using limited resources (the cups).
- Step 5: Each team is given an allotted period in which they have to build their structures; whoever builds within that timeframe wins!
- Step 6: The winning team will be decided based on creativity, structure, stability, etc.
- Step 7: After completion, you can deconstruct the structures for maximum fun!
17. Ball in a Cup
The game’s goal is for teams to use their cups of different sizes and colors to maneuver a ball into one of the cups.
Teams must think unique and creative solutions for moving the ball without knocking over any cups.
Here is a detailed step-by-step guide that you can use to play Ball in a Cup in a classroom with kids:
- Step 1: Gather teams of two or more players.
- Step 2: Each team is given a set of cups in various sizes and colors.
- Step 3: The goal of the game is to maneuver the ball into one cup without knocking over any cups.
- Step 4: Teams must devise unique, creative solutions for moving the ball .
- Step 5: Players must work together as a team to strategize and use spatial reasoning.
- Step 6: After each attempt, evaluate how well it worked and revise your strategy if needed.
- Step 7: Once successful, switch roles with other teams to give them a chance to play.
18. Bubble Blowing
Bubble-blowing is an exciting game that students can enjoy during recess or after school.
It might sound like a simple activity, but many strategies and techniques exist for perfecting bubble-blowing.
You only need a cup of soapy water and some straws to start the game.
Each player dips a straw into the soapy solution before putting their lips around the other end of the straw.
After they’ve got a good seal with their lips, they blow into the straw to create bubbles!
Here is a detailed step-by-step guide on how you can play Bubble Blowing in a classroom with kids:
- Step 1: Before playing the game, gather all the materials needed, such as a cup of soapy water, straws, and any other optional items, such as bottles or bubble wands, to make bigger bubbles.
- Step 2: Explain the game’s rules to all players clearly and concisely. The goal is to see who can blow the biggest bubble or keep their bubble afloat for the longest time without popping it.
- Step 3: Choose a starting player: Have everyone pick a straw; whoever picks the shortest will be the first person to go.
- Step 4: Each player takes turns dipping their straw into the soapy solution and putting their lips around the other end of the straw.
- Step 5: After they’ve got a good seal with their lips, they blow into the straw to create bubbles!
- Step 6: The next player in line then takes their turn, and so on, until all players have gone.
19. Cup Relay Race
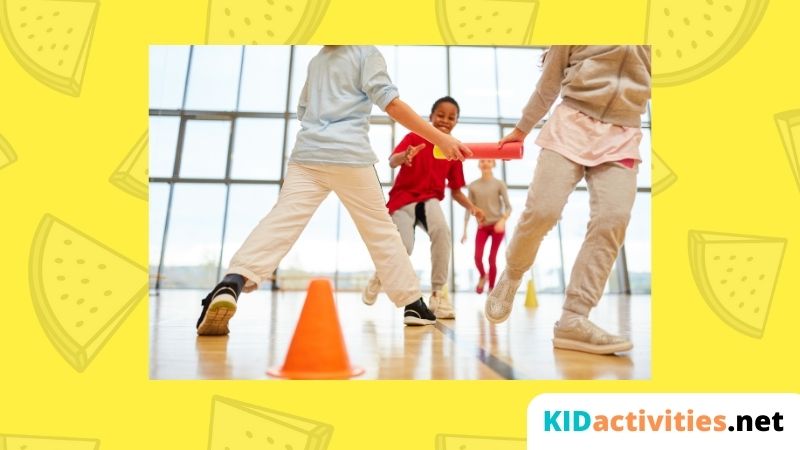
The game’s basic concept is simple: teams are of smaller groups, and each team has to race against the others within a set time limit to complete an assigned task.
Here is a detailed step-by-step guide on how you can play Cup Relay Race in a classroom with kids:
- Step 1: Gather the children into three or four teams, depending on the class size.
- Step 2: Explain the rules of the game to each team. The goal is for each team to finish a task within a set time limit.
- Step 3: Give each team a task, such as passing cups from one to another.
- Step 4: Have the teams line up at one end of the room and give them a countdown before they can start their tasks.
- Step 5: Monitor each team’s progress throughout the game; encourage when needed and stop any cheating or unfair play.
- Step 6: When all the teams have finished their tasks, declare the winners. Give out prizes or rewards to the winning team.
- Step 7: Discuss with the children how they worked together and what strategies they could have used if needed. This is a great way for them to learn cooperation, teamwork, communication, and problem-solving skills.
20. Egg & Cup Race
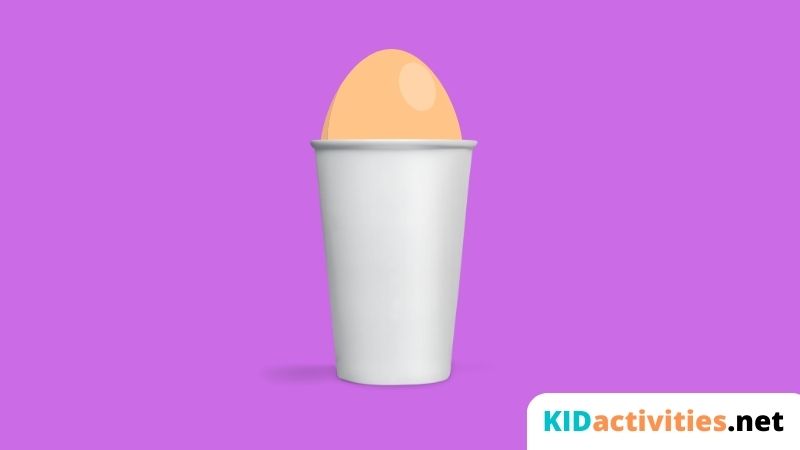
Egg & Cup Race requires players to use their hands and minds to balance eggs in cups while racing against other opponents.
You only need cups and some hard-boiled eggs to play this game.
Each player takes a cup with an egg and then races against the other players to the finish line.
The game’s goal is for each player to reach the destination without having their egg fall off the cup.
Here is a detailed step-by-step guide on how you can play Egg & Cup Race in a classroom with kids:
- Step 1: Gather the students into teams of three. Each team should have a start line, a finish line, and two people to carry the eggs.
- Step 2: Place markers or cones down the designated track for each team, about 10-15 feet apart for a regular relay race and 20-25 feet apart for a longer race.
- Step 3: Give each team a cup and an egg and line them up at the start line.
- Step 4: On “Go!”, the first person in each team will run to their marker with the cup and egg balanced, being careful not to drop the egg.
- Step 5: Once they reach their marker, they must switch the cup and an egg to their teammate waiting at the end of the track.
- Step 6: The second person will then run back down the track with the cup and egg balanced and pass it off to the third person, who will take it to the finish line.
- Step 7: Whichever team crosses the finish line first with the egg intact is the winner!
- Step 8: Repeat the game for different teams until everyone’s had a turn.
- Step 9: At the end, award points to each team depending on their performance. This will encourage them to work together and strive to improve during their next round.
21. Stepping Stones
The game’s basic concept is simple: teams are broken up into smaller groups, and each team has to cross an obstacle course-like setup without dropping their “stepping stones” while racing against other opponents.
Here are the steps on how you can play Stepping Stones in a classroom with kids:
- Step 1: Before starting the game, divide the class into two teams and mark each team’s start and finish line with tape or cones.
- Step 2: Place a pile of cups in the middle of the room to be used as “stepping stones.”
- Step 3: Have each team line up at their starting line with their “stepping stones” in hand.
- Step 4: On the signal, the first person of each team has to run across the room and back while placing down one stepping stone at a time without dropping it.
- Step 5: Once they have placed down all their stepping stones, they have to run back to the starting line and tag the next person.
- Step 6: This process repeats until it is the last person’s turn.
- Step 7: The first team to complete the course without dropping any stones wins!
22. Juggling
The goal is to pass the juggled cups between each other or to balance them on their bodies while keeping them in the air.
Here is a detailed step-by-step guide on how you can play Juggling in a classroom with kids:
- Step 1: Begin by dividing the classroom into two teams. One team will form a line behind one point, and the other will form a line behind another.
- Step 2: Place cups of varying sizes at each end of the lines.
- Step 3: Each player in the line will pass the cup to their teammate at the other end of the line.
- Step 4: As each player passes the cup, they must also catch it and keep juggling it in the air.
- Step 5: The team with the more successful passes at the end of a certain amount of time wins!
- Step 6: After playing a few rounds, students can switch up the cups they are juggling or increase the difficulty by having them juggle more than one cup at a time.
- Step 7: Have fun and see how long you can keep the objects in the air!
23. Balance Beams
The game’s goal is for each team to build a bridge across a designated area using various materials such as foam blocks, cups, balloons, etc.
Players must consider factors such as gravity, weight distribution, and physics to build a stable structure that will not collapse when crossed over.
Here is a detailed step-by-step guide on how you can play Balance Beams in a classroom with kids:
- Step 1: Gather the materials needed – foam blocks, cups, balloons, string, and other items to build the bridge.
- Step 2: Divide the players into two teams and assign one side of the room as their starting point.
- Step 3: Designate a designated area to build the bridge – a straight line across the room or a curved path.
- Step 4: Each team is given a certain amount of material including cups to build their bridge and must work together to construct it.
- Step 5: Players must create a stable structure that can hold its weight when crossing over using the cups and other materials.
- Step 6: Once both teams have completed their bridge, each team then crosses it one at a time.
- Step 7: The team who crosses the bridge first without it collapsing wins the game!
- Step 8: Have fun and encourage teamwork while playing this exciting cup game.
- Step 9: Challenge your students to develop inventive solutions to build their unique bridges!
24. Time Trial Challenges
In this game, teams must complete a specific task quickly.
Here is a detailed step-by-step guide on how you can play Time Trial Challenges in a classroom with kids:
- Step 1: Have each student pick a teammate and form a team. Explain that the game is called ‘Time Trial Challenges’ and involves quickly completing a specific task.
- Step 2: Assign each team a task they must complete in the shortest possible time. For example, teams must collect all the cups in the room and place them into a bucket.
- Step 3: Give each team a time limit that they must try to beat to win the game.
- Step 4: When you say ‘Go,’ teams should begin working together on their task before the timer runs out.
- Step 5: Teams can use communication and strategy as they work together toward completing their challenge.
- Step 6: Once the time is up, teams must stop working and wait for their results. The team that completes their task in the shortest amount of time will win the game.
- Step 7: Take a few moments to discuss what strategies worked best and provide feedback on how teams can improve next time.
- Step 8: Repeat with new tasks until everyone has had a chance to play.
- Step 9: At the end of the game, award prizes to the winning team and congratulate all participants for their hard work!
25. Balloon Pop Challenge
The game aims for each team to pop as many balloons as possible within a certain time limit.
Here is a detailed step-by-step guide on how you can play Balloon Pop Challenge in a classroom with kids
- Step 1: Divide the students into teams of 3 to 5 players.
- Step 2: Give each team a cup and equal balloons.
- Step 3: Set a time limit for each team (1 minute recommended).
- Step 4: Instruct the teams to pop as many balloons as possible within the time limit, using only their cups.
- Step 5: The number of balloons they popped determines each team’s score.
- Step 6: Give a prize to the team with the highest score!
- Step 7: Enjoy and applaud everyone’s efforts at the end.
I hope you enjoyed reading about the 25 cup games for the classroom. I am sure kids will love playing these cup games.
Stay tuned to read more exciting articles.
